
Practise Template:

As a beginner it can feel intimidating to start sewing darts on a garment so with that in mind we have created a dart practise template! You can download it for free here, and use it to practise these methods on. Practise makes good progress, so cut out some scrap fabric and try out these tips before going into sewing your garment!
Starting Out:
Before we get to the 3 sewing methods, there are a few other things that will really help you get a nice clean dart.


- Accurately mark the dart starting points, lines and finishing point. Use your pattern to mark the guide lines onto your project using chalk, a fabric pencil or pen. Handy little tip: cut on of the dart lines up to the point and fold it under at the other guide line (like in the photos), lay the piece back down on your wrong side of the garment/pattern piece and mark the dart shape with a fabric pen (or whatever method you prefer).


- Use a ruler to draw the lines onto the wrong side of the fabric, this makes sure those stitch lines will be super accurate and smooth.

- Pin the dark into place by folding the piece right sides together and pinning at the start, middle and point to make sure it's accurately placed together.
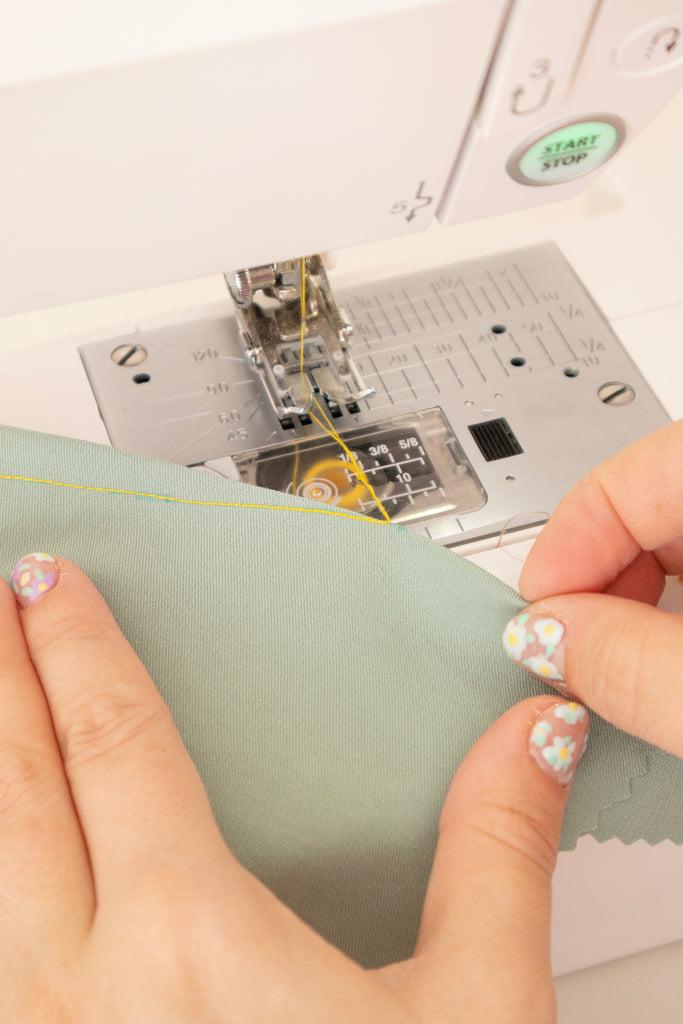
- Start sewing from the outside of the dart (the widest part) working towards the dart point.

- As you near the tip of the dart, you can stop sewing, shorten the stitch length on your sewing to about 2, and then continue - The shorter stitches give a really clean and refined stitch from the outside.

Dart finishing methods:
1. Backstitch Method:

The backstitch method is a great method for when you're starting out and also for those who may struggle with their finger dexterity (compared to the next method of tying off for example). When you reach the tip of your dart, sew right to the end and then select the back stitch option on your machine and back stitch for 2 or 3 stitches and then continue forward again to the tip. Be carful to stitch on the line when you sew backwards! It can be tricky to not go off course when sewing backwards so take your time.
2. Tie Off Method:

The tie off method is probably the most popular of dart sewing method for it's simplicity and accuracy. Stitch your dart right to the tip and then once you finish sewing and come off the end, pull your work out from the machine, pulling with it your strands of top and bobbin thread. cut the thread so you have excess to work with, and tie them together and pull, to create a knot at the top of the dart. Repeat this a couple of times to make sure you seal that stitch.
3. Continue Stitching Method:
The Continue stitching method is exactly how it sounds. As you approach the tip of the dart, continue stitching off of the fabric and stitch into the machine (not into anything) for several stitches. This creates several loops of stitches together which acts as another tying method that seals the stitch. Cut the thread after these loops of stitches so they stay intact.
That's it! We hope you found this educational post on 3 Easy Sewing Methods to sew Darts and sewing tips for darts useful. If you haven't already you can download the practise template here.
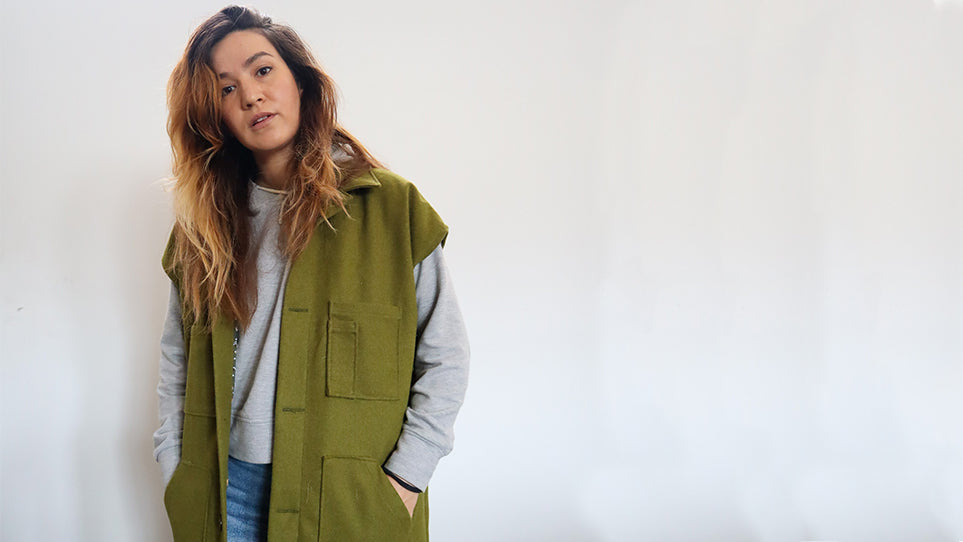
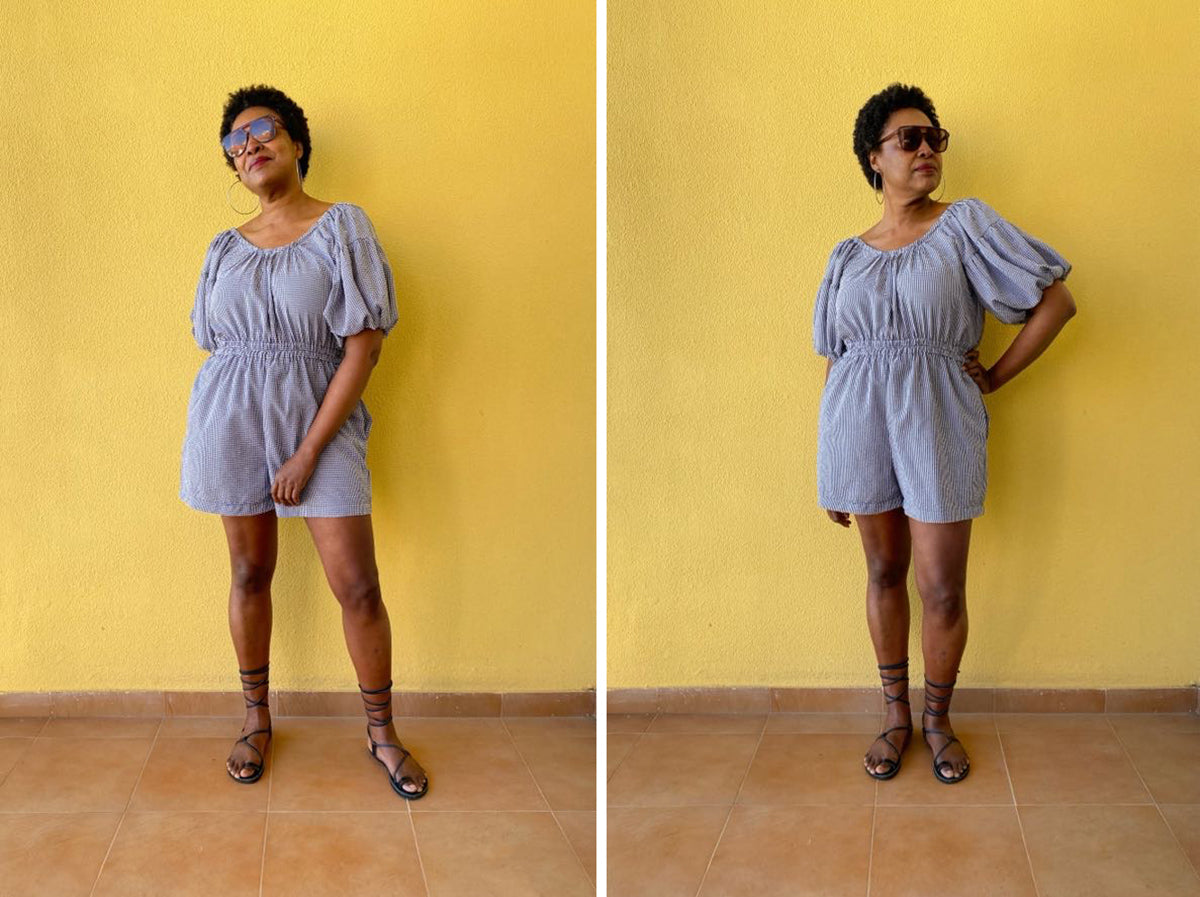
If you want to put your new skill into practise check out our Patina Blouse, Square Neck Top and Saltwater Slips dress patterns.


Leave a comment
This site is protected by reCAPTCHA and the Google Privacy Policy and Terms of Service apply.