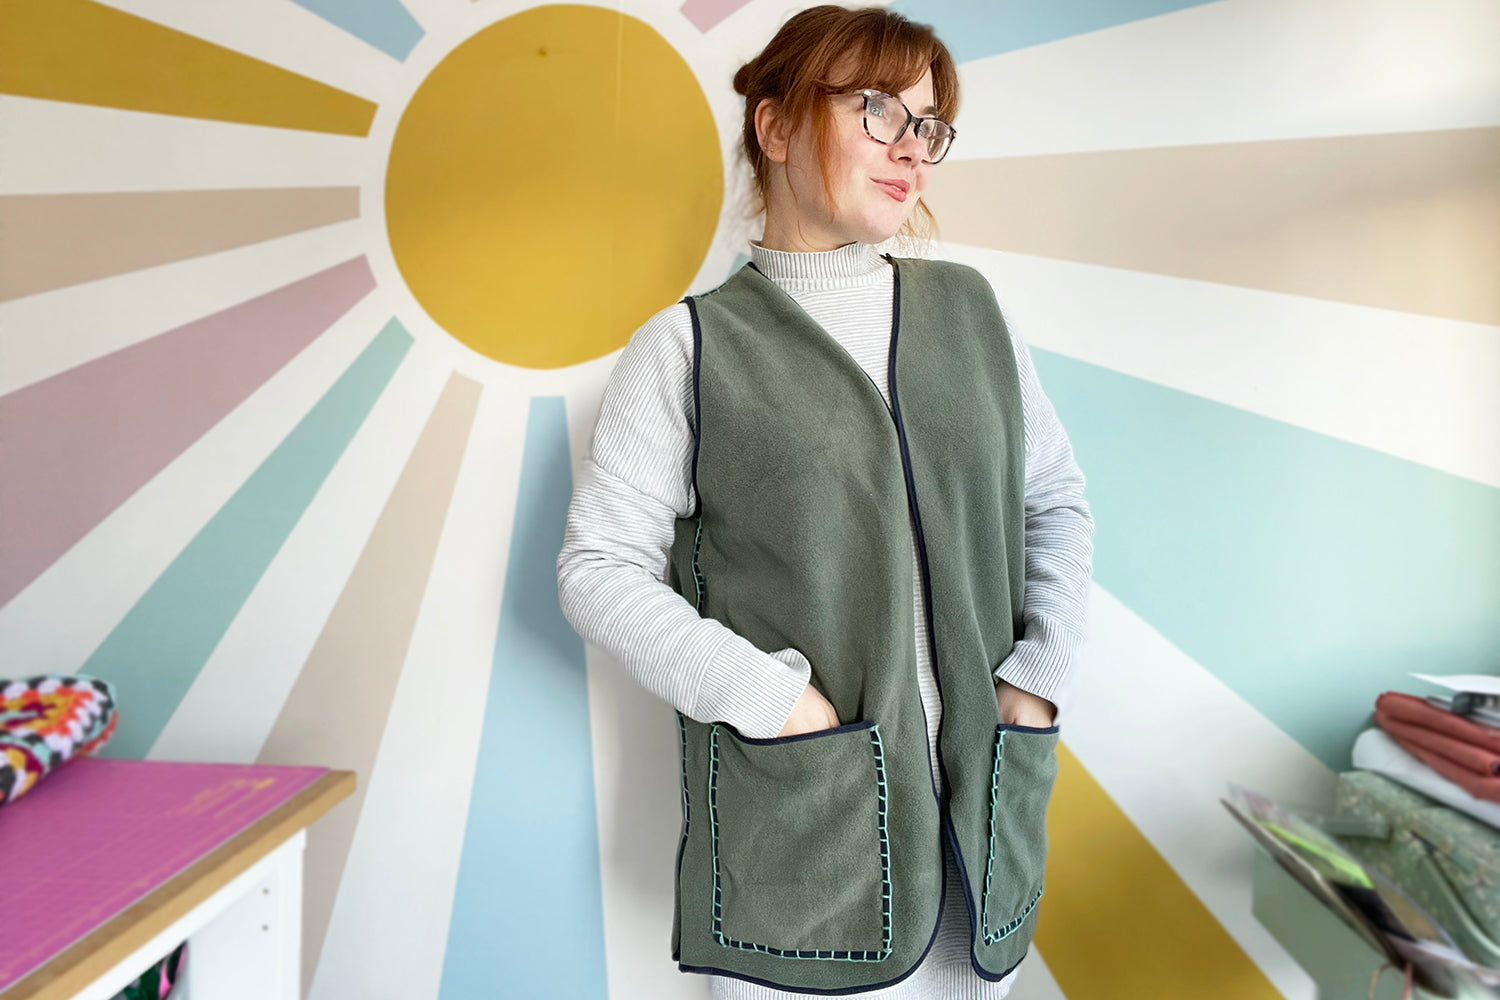
If you're currently in the midst of winter then you will know that being cosy is the main priority right now! Added layers are always helpful, and after seeing some really cute fleece vests on Pinterest, I decided I needed one in my me made wardrobe to throw-on when it's extra chilly. Using the Ilford Jacket Pattern as a base, I have put together a sewing hack to show you how to make your own fleece vest, with added blanket stitch detailing. It's a really easy sew, so let's get stuck in and get making.
The Vibe:

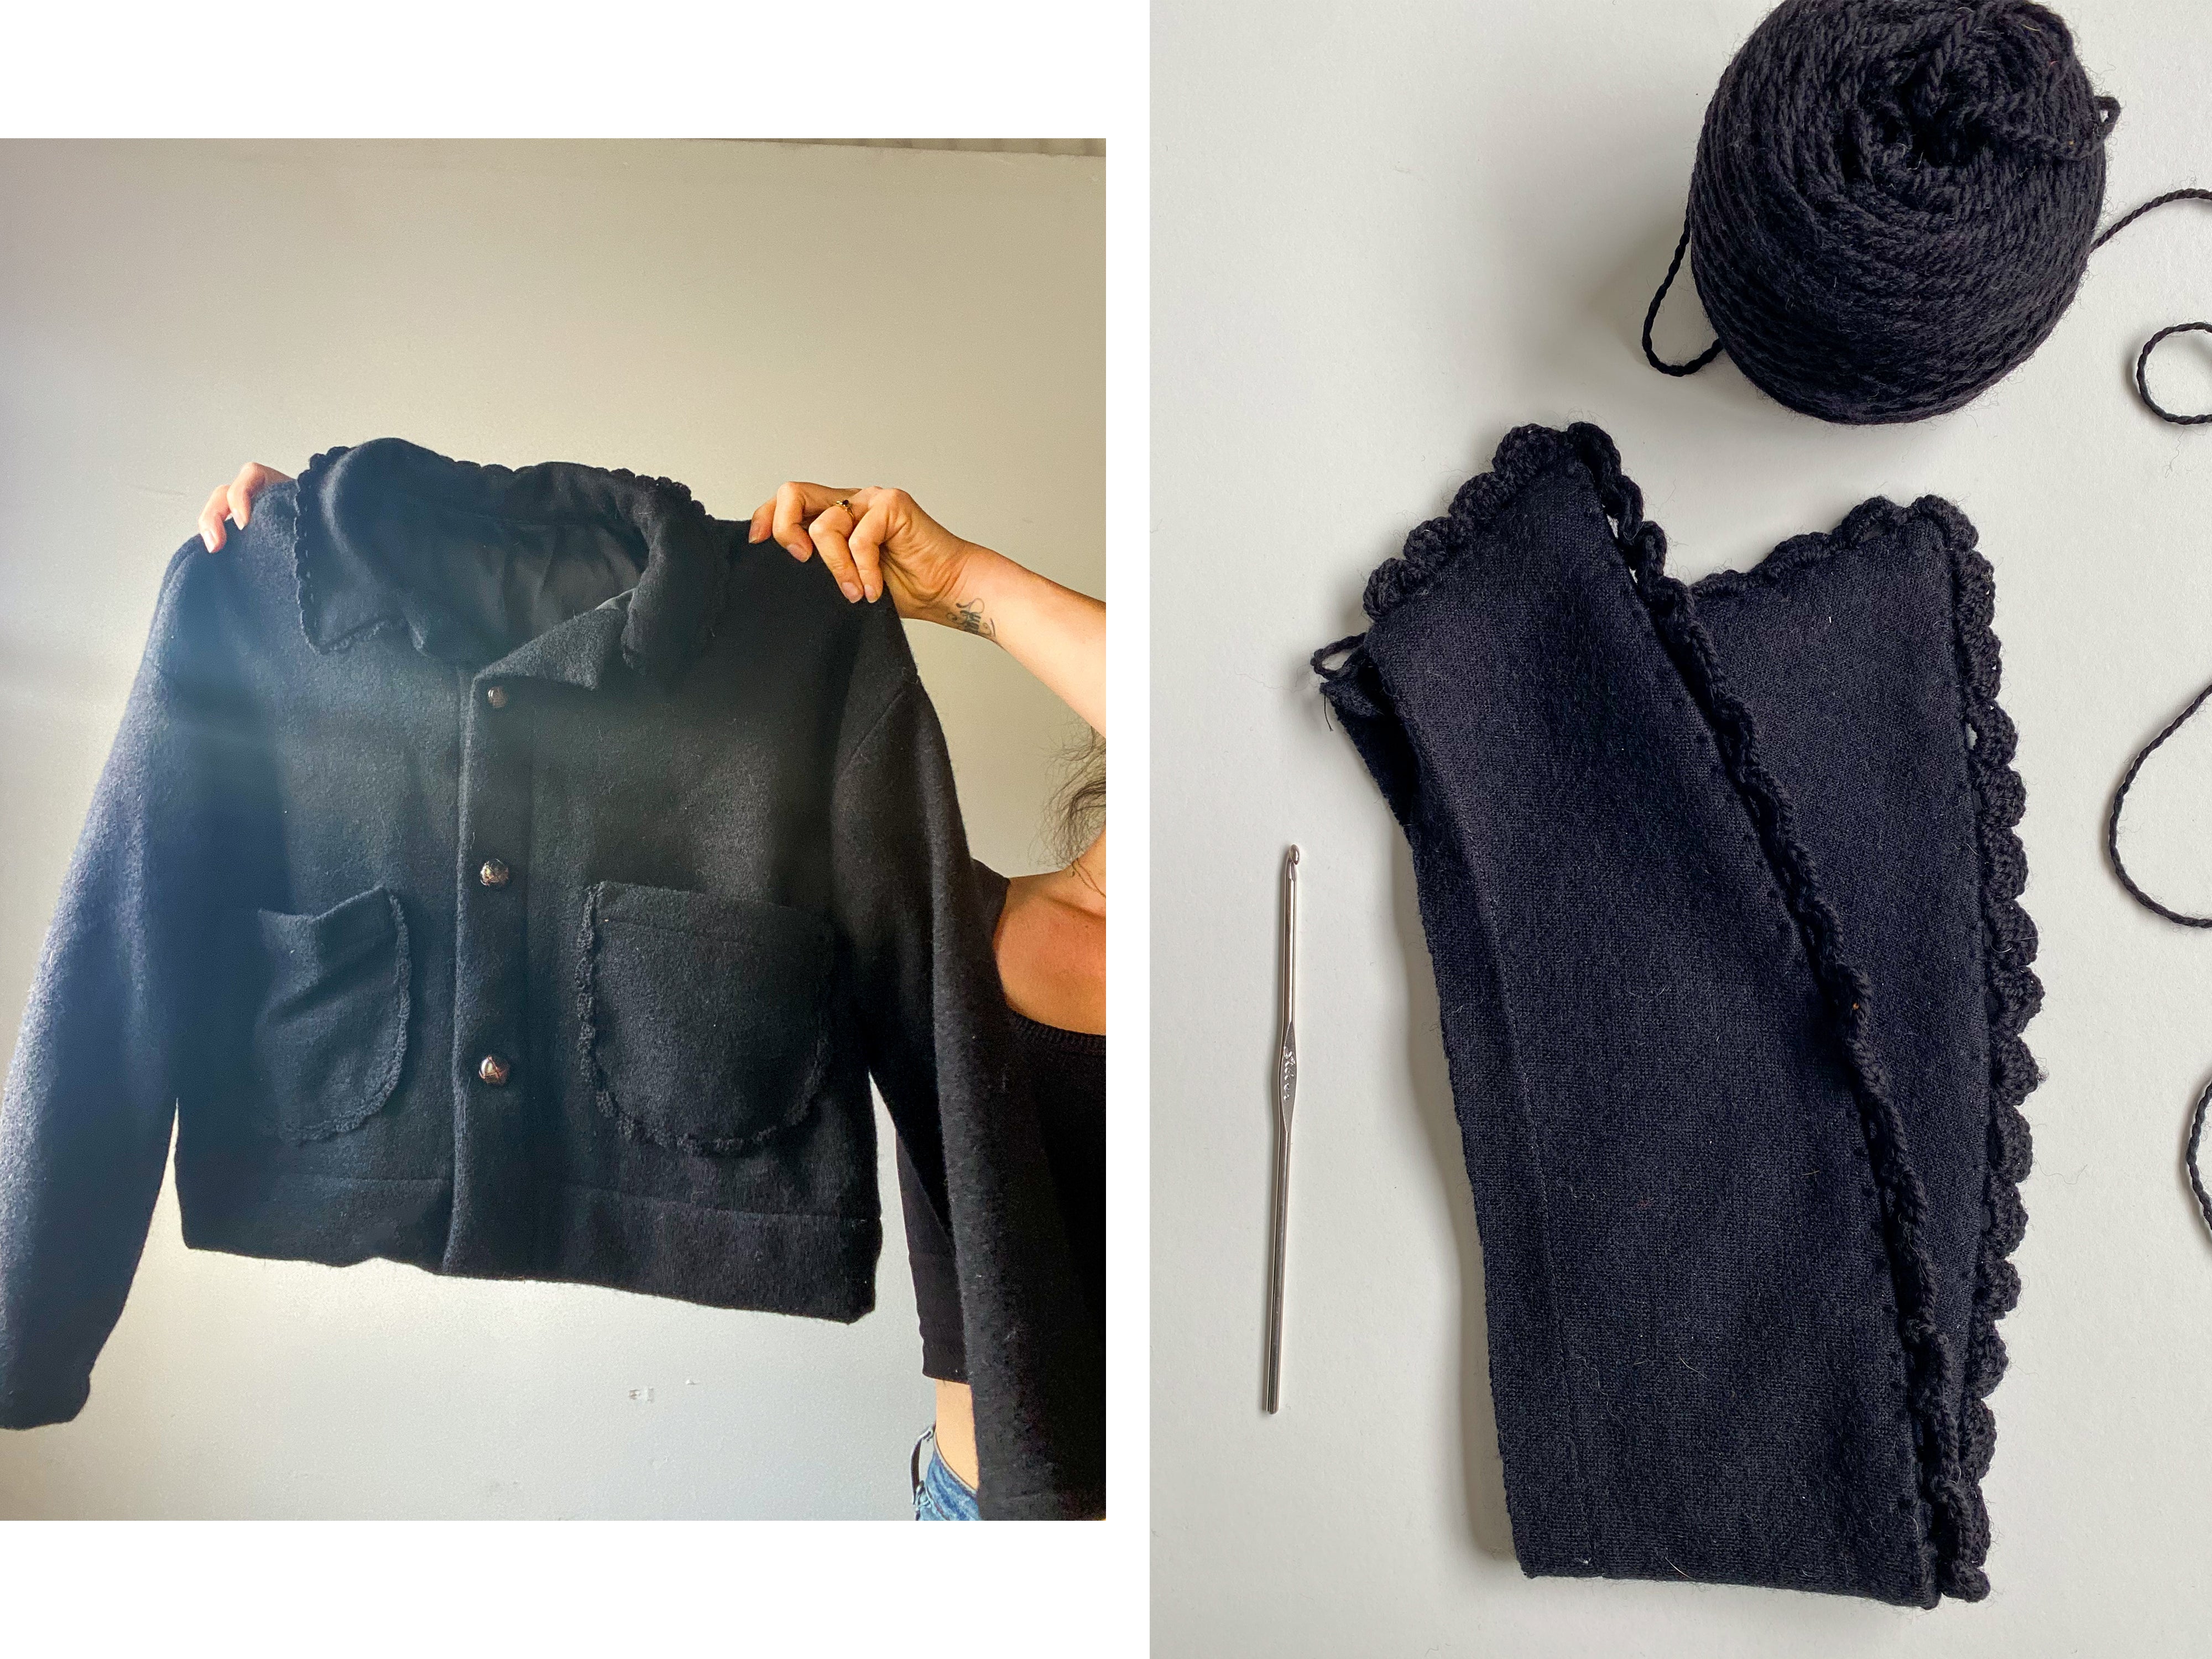
Here are a couple of examples I saw online, I loved the effortless style of them, so wanted something similar! I think I need a boucle one next though.
Pattern modifications:

There are quite a few changes to be made to the Ilford Jacket Pattern pieces, but as it's such a modular design, it makes it the perfect base pattern for lots of outerwear. Using front Piece A, and Back Piece B is all we need for this project, and whatever pocket you want, I went for the lower patch pocket.
1. I first graded off the front collar on piece A, and then also removed the centre front from the notch straight all the way down. You're essentially removing the button placket, as each piece will be bias bound, you don't need to add seam allowance here.
2. Create an arm hole and remove the drop raglan sleeve, use a pattern drafting ruler curved edge, or eyeball it as shown in the diagram. Another tip could be to use a ready to wear vest you have in your wardrobe, or another pattern like the Heather blazer to get the right curve shape. Use the dot (underarm marking) on the pattern as a reference, you want to go slightly below that about 1 inch.

3. Repeat the process on back piece B, and as you can see I also graded it on the side seams to remove some of the ease on the bust, so it fits better without removing ease from the hips (as I am a hippy gal)!
Sewing:

1. Each piece needs to be edged with bias binging, I used a ready-made double fold binding. I pressed one side of the binding open and left the other side folded. Right sides together, stitch the bias binding pressed flat edge to the edge of the pattern pieces - start a few inches from the start of the binding as we will need a little extra left over at the end to create a seamless finish. sew all the way round, at the corners use a similar method to when you add binding to a quilt, if you're unsure check out this video on YouTube, it shows it really well!
2. Finish the binding, like in this video tutorial on each piece. Then turn the binding up towards the seam allowance and fold over it, and top stitch it in place.
3. Once each piece A is bound, and the same for back B, repeat on your pockets.

4. Now we are going to use a blanket stitch, and wool (yarn) to sew the pieces together. You can baste in place on a sewing machine first if you prefer but I went straight in with the blanket stitch as it's a very secure stitch. The wool I am using is a standard acrylic DK weight I had in my stash, and using a Doll sewing needle that is a big longer and thicker but you can use an embroidery needle or whatever you have that is sharp enough and has a wide enough needle eye for the wool. The vest piece seams are laid flat over each other, rather than right sides together.
5. The blanket stitch is actually super easy, it may just take a little getting used to starting it off, and the method but we will have a couple of handy stitch videos on our Instagram you can check out here.
6. Repeat the blanket stitch method on the pockets!


That's it! Super quick and easy make, and looks so cute. I used up fleece I had in my stash, but you could go monochromatic with black and white for a very on trend look. If you make one, make sure to share it with us on social media @FridayPatternCompany #IlfordJacket #FridayPatternCompany


Leave a comment
This site is protected by reCAPTCHA and the Google Privacy Policy and Terms of Service apply.