
Double fold bias tape is a versatile sewing notion that can be used to finish raw edges, create bound edges on quilted projects, and add decorative accents. While it may seem intimidating, making double fold bias tape is actually pretty simple once you get the hang of it. In this blog post, we show you how to create your own double-fold bias tape. It's a great skill to learn because not only can you choose your fabric but you can also save a lot of money by not having to buy shop-brought bias tape. Continue reading to find out how.
What is Bias Tape?
Double fold bias tape can be made from a variety of materials, including cotton, polyester, and satin. It's important to choose a bias tape that is appropriate for your project, both in terms of material and color. Go for a bias tape in the same fabric or same fabric type (if deciding on a contrasting color), you want to use a similar weight fabric to the fabric you're sewing it to.
What you need:

- Quilting ruler
- Rotary cutter (or scissors, but it's a lot easier with a rotary cutter)!
- Pins
- Iron / Ironing board
- Fabric for the bias tape (woven non stretch).
- Optional bias tape makers
Step 1: Cutting your strips of fabric

First thing you need to do is cut your strips of fabric that will become the bias tape. It needs to be cut at a 45 degree angle (on the bias of the fabric) - which is why a quilting ruler is super handy for this. Cutting on the bias means your fabric will have more flexibility and movement around edges, corners and curved edges.

The easiest way to do this is to lay your fabric flat (preferably on a cutting mat), then line up the 45 degree line on your quilting ruler with the selvedge of the fabric. If using scrap pieces of fabric, you can check the grain (straight non stretch direction of fabric) by gently putting it to work out what direction is the bias.

With the 45 degree line, lined up with the selvedge, simply cut using a rotary cutter against that ruler line for a nice straight edge cut. Repeat this process for all the bias tape making sure the strips are cut to 17/8 wide, for 1/2" double fold tape.

Once you have cut your strips, you need to tidy up the edges of the strips by removing the diagonal edge to straighten them up. Line them up with your cutting mat or ruler lines and use the rotary blade to cut them square.

Step 2: Sewing
Once you have your strips and they're squared off it's time to sew them together to create long continuous strips.


Trim off the excess fabric (the point) like in the photo to make the seam allowance 1/4" or 0.5cm.
Step 3: Ironing Process
First, start by ironing your joining seams open and flat.


If you're fancy and have a bias tape maker (not essential) you can pop the bias tape through that to start off the folding process - using the 25mm bias tape maker. I find it handy to still place a pin into your ironing board to help guide it through and keep it flat, then run the iron of it as you gently pull it through the tool. It also might be helpful to cut your staring edge into an angle to help guide it through.

If you don't have one of those tools, you can still do it, manually fold the tape to the centre and place under a pin on your board, and iron close to the pin being careful not to catch the iron on your fingers. The point of your iron is handy for this.

Then fold your bias tape in half and iron again - tada! That's it, you have made bias tape.
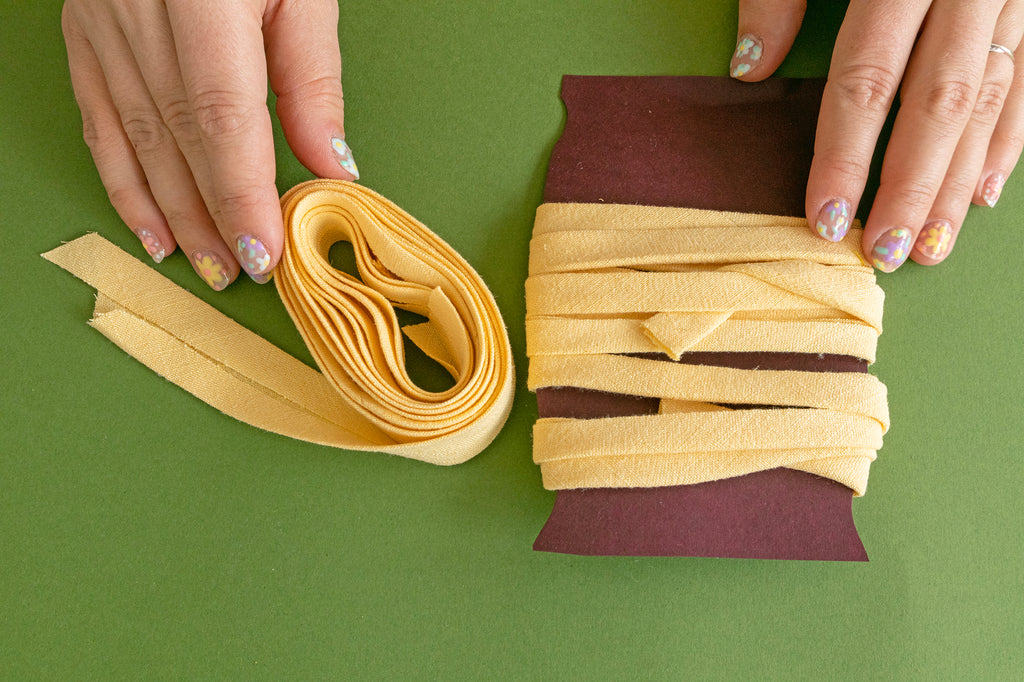
Step 4: Storing


Leave a comment
This site is protected by reCAPTCHA and the Google Privacy Policy and Terms of Service apply.