The Rambler Pants are a part of our new Daytrip Collection of patterns. These patterns were drafted using sample measurements for a cis-male body but they look cute on a variety of gender expressions so we wanted to show you how you might tweak the fit for different body types. We have a dedicated fit page here that breaks down some common fit adjustments for the rambler pants.
Two big differences between the size chart for the Daytrip Collection vs the rest of our patterns is the height they are drafted for (5'6" vs 5'10") and the waist to hip ratio. The Ramblers have a lower waist to hip ratio than our other patterns.
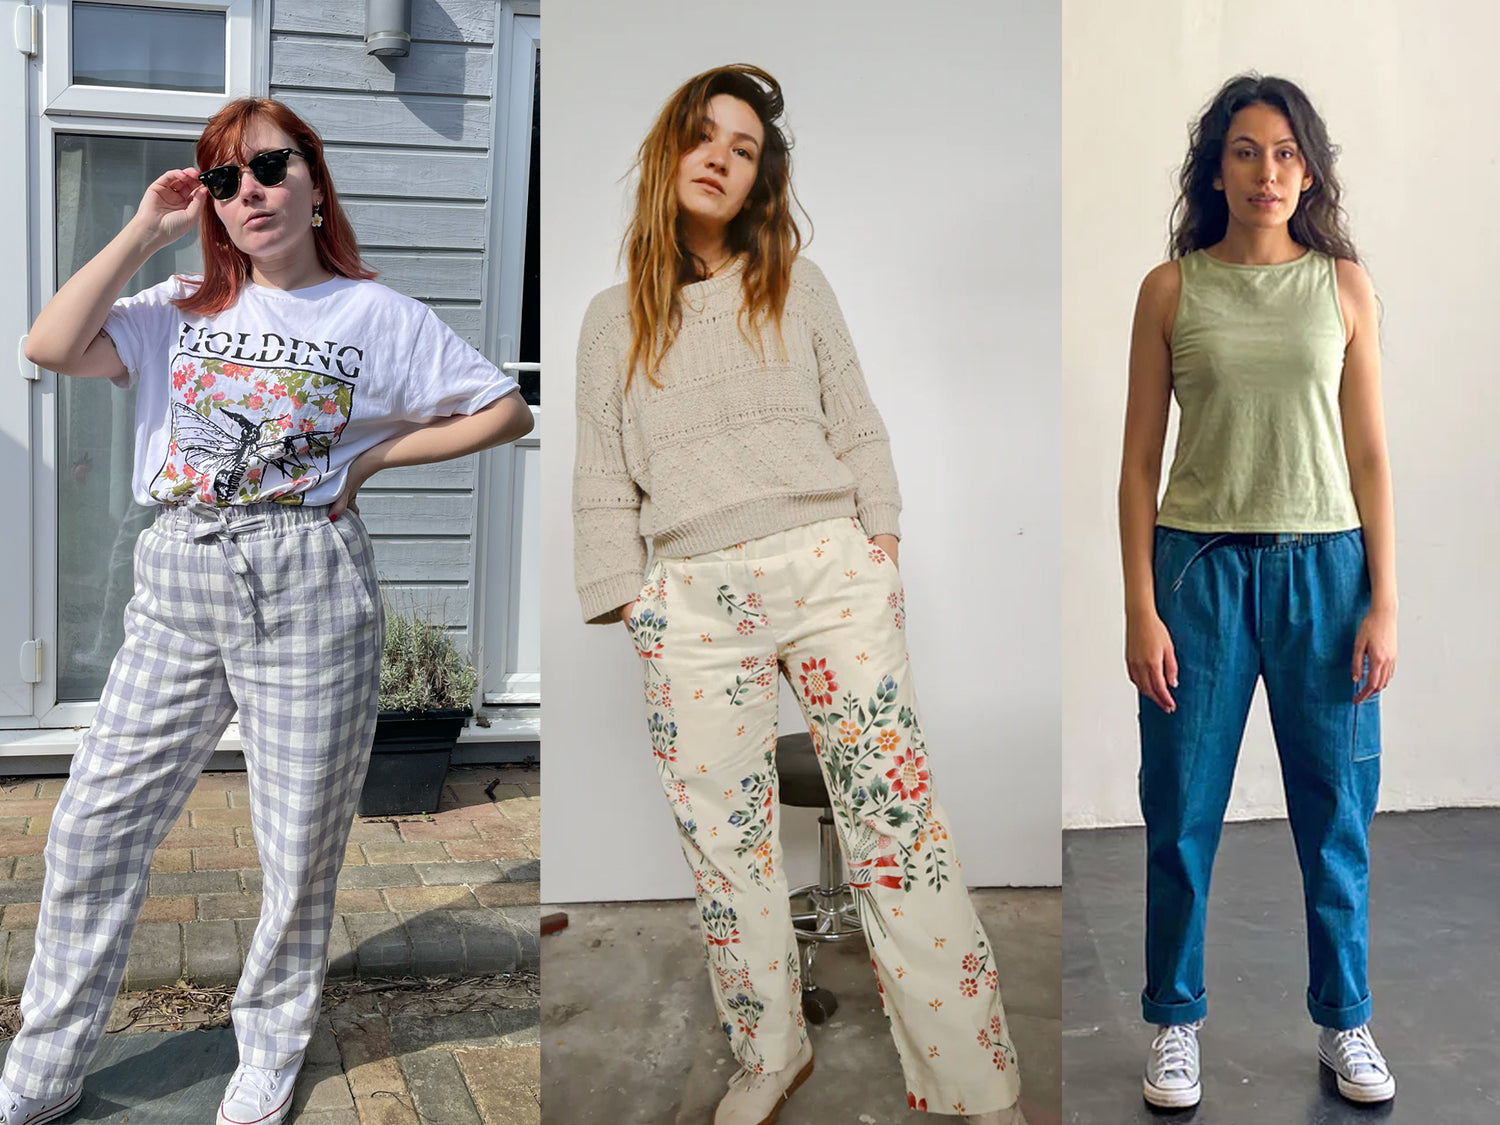
Christina's Version
For Christina we selected a size by looking at the finished garment measurements and choosing a size that would give us 5-6" of positive ease in the hips, which ended up being a size small. We also compared Christina's inseam (28") to the inseam on the Ramblers (32") and shortened the pants by 4". There were no other alterations.

You can see how without adjusting the rise the crotch of the pants sits pretty low. This is partially due to the fact that men tend to wear the crotch of their pants lower and also because of the height difference between Christina (5'6") and the size chart. They still look great but just know that adjusting the rise of the pants will bring the crotch up without needing wear the pants at a higher rise (see Chelsea's version below).

Paige's make:
Paige here! Below is the modifications I made for my Ramblers, they were super easy to modify so for anyone that is perhaps more pear shaped, or slightly larger on the booty, this fit option would work well for you. I like my trousers to be relaxed and high-waisted and these turned out perfectly. For reference I'm usually a size Medium in Friday Pattern Company womenswear patterns, and a UK size 12, and I am 5'2 in height.

I cut out a size small at the hips, and graded to an XS on the legs, so that they taper in a little more from the hips down.
I reduced the length by 4 inches, and this was enough for me but if you check the inseam measurement on the pattern, this will help reference how much you need to take off.
I simply drew a line across the leg, marked 2 inches either side of the line, cut down the middle line and folded one edge of the leg at the 2 inch line, and then stuck it back down on the leg, matching up both 2 inch lines (which reduces it 4 inches in total). I had to re-draw the side seam line and taper it in.
I also decided to make a waist tie instead of a belt, for a less bulky look and I simply cut a 4 inch strip as long as I could, and sewed it down the length right sides folded together - I turned it out with a safety pin, and then tucked in the short edges and top stitched. I sewed the waistband as per the instructions, and threaded in the tie where the belt usually would go.


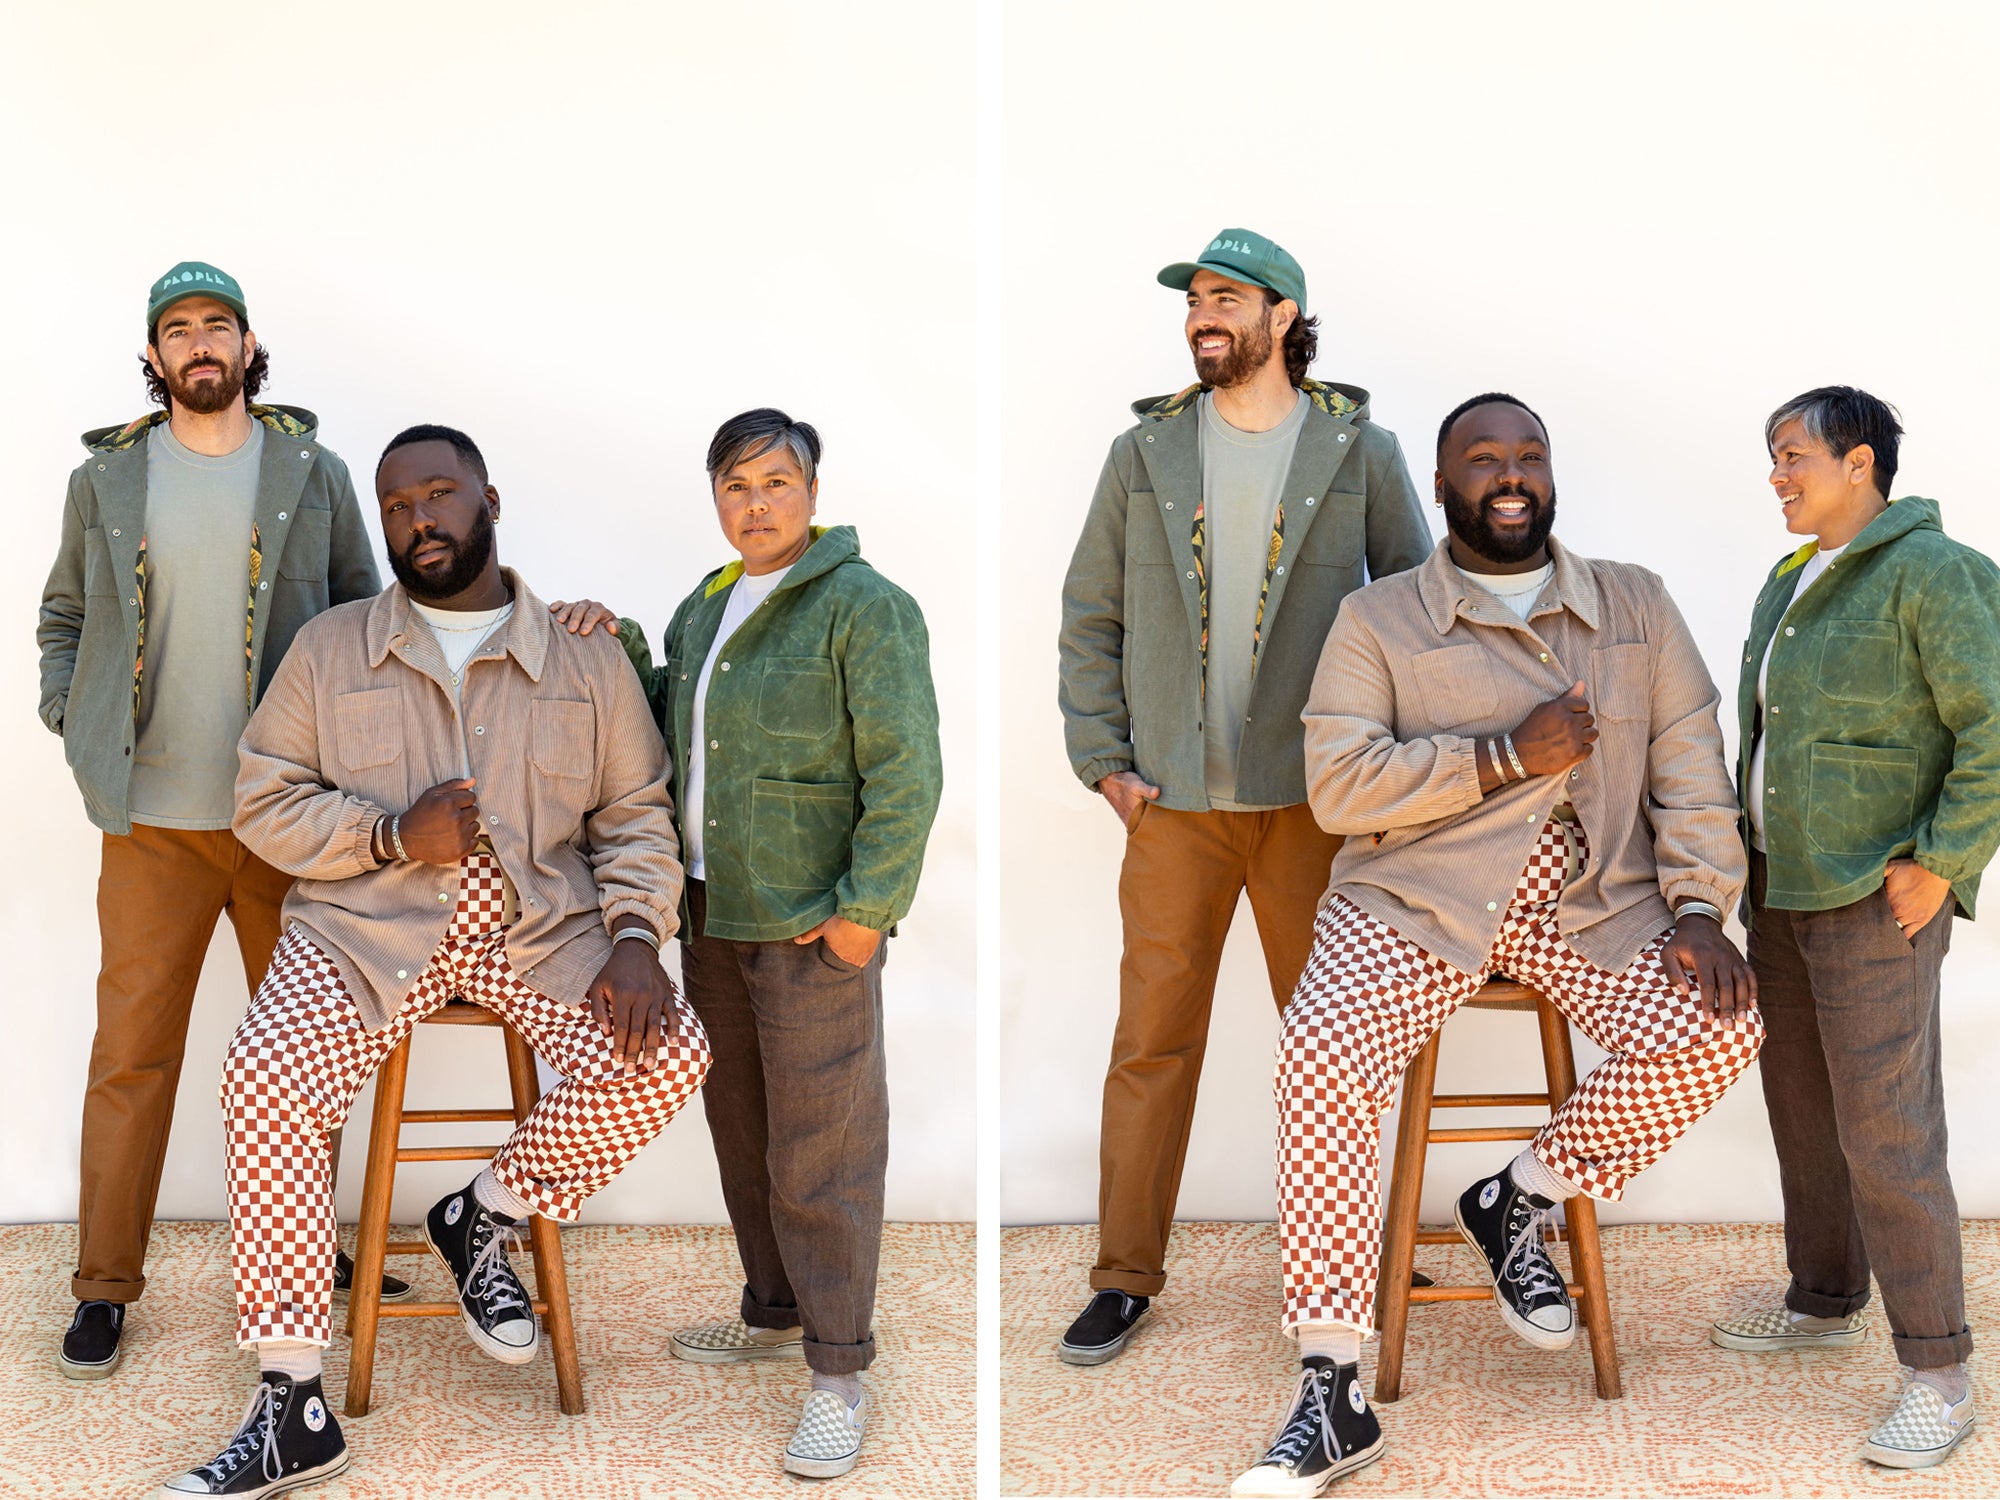
Chelsea's Version
Chelsea here! For my Ramblers:
- I selected a size in the same way we did for Christina's version and adjusted the inseam in the same way.
- Lowered the rise by 2" (see the fit page for instructions on how to to that).
- Straightened out the side seam. I wanted a more straight leg fit so I straightened out the sideseam.


Leave a comment
This site is protected by reCAPTCHA and the Google Privacy Policy and Terms of Service apply.