Whether you're new to sewing, or a seasoned sewist, sewing buttonholes can always be a little nerve wracking. Usually when issues arise from buttonhole sewing its down to the type of fabric you're sewing, and making sure the methods you're using match that fabric, or the button you're wanting to use. We've all been there when it comes to finishing a handmade garment, when it comes to sewing buttonholes and the fear of messing it up freezes you to not finish it! Well, don't worry because in this blog post we have put together all the tips and tricks you need to sew great button holes onto woven fabrics.
Types of Sewing Machine Buttonholes:
Each sewing machine and brand will have a various buttonhole methods, so make sure to always check your machines manual as that will determine the basics when it comes to setting your machine up in the right way.
Depending on your machine you will either have a 4-step buttonhole which is seen on many entry level machines, or a 1-step buttonhole with is seen on more electronic machines.
The way your machine sews buttonholes will differ, but below we have put together some helpful tips to make sure your finished buttonhole is perfect everytime.
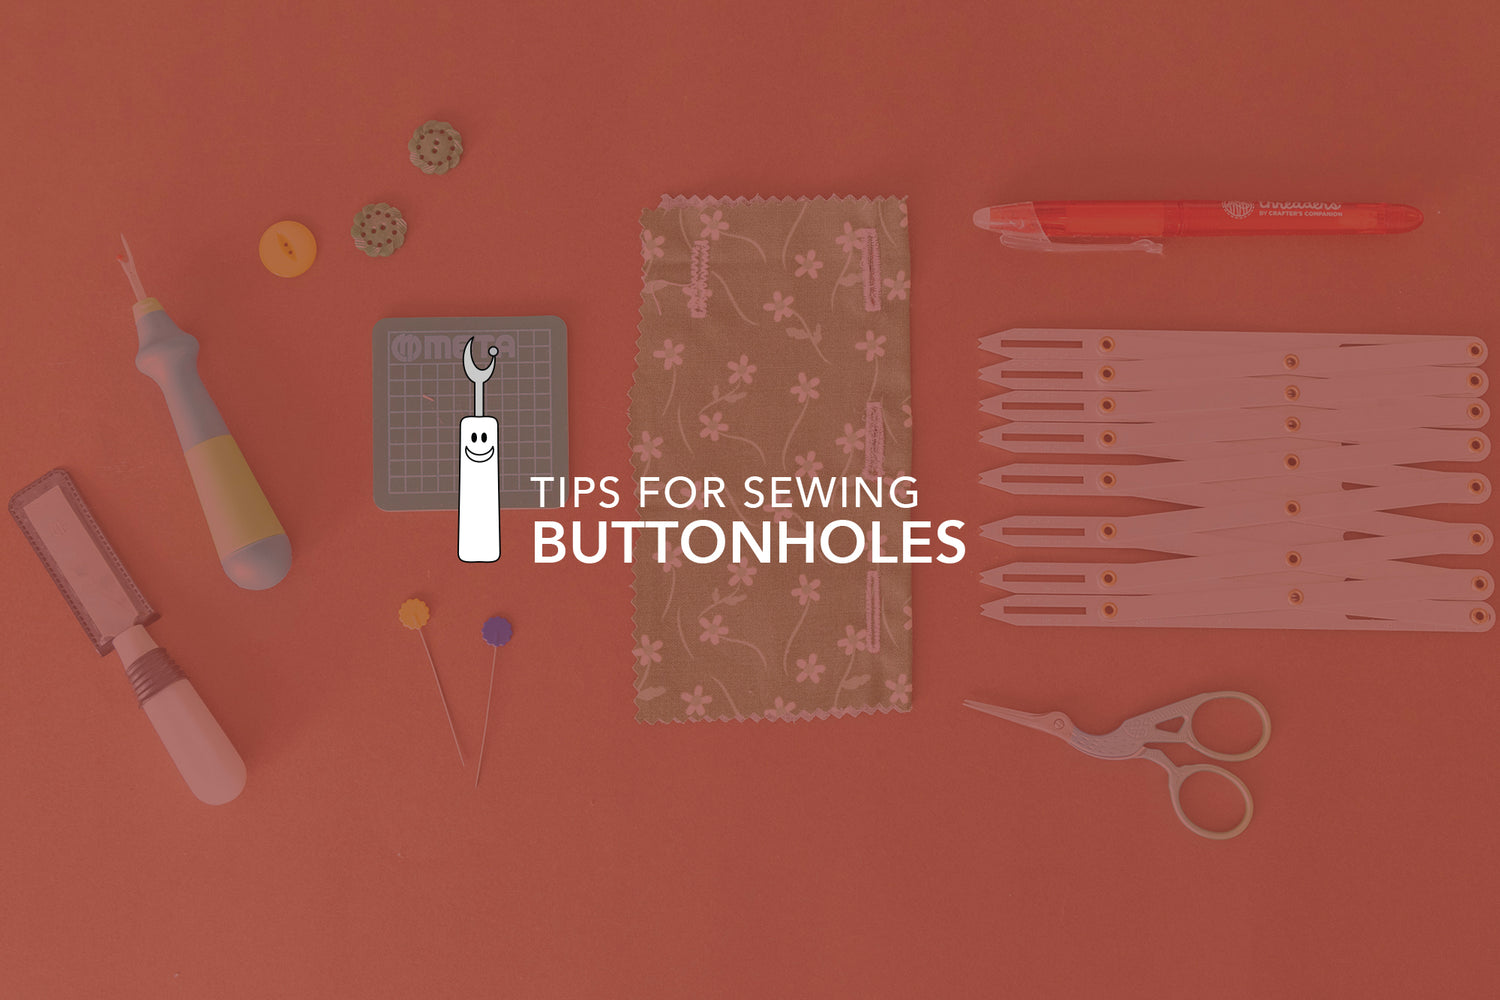
Must have notions in your sewing kit:

- The buttonhole attachment that goes with your machine. This should come with your machine when you purchase it but make sure to check you have the right one.
- Pins & an un-picker (seam ripper)
- Stablising fabric like interfacing or tear away stabiliser
- Removable pen or chalk
Option extras:
- Buttonhole cutter and cutting mat
- Buttonhole marking ruler
Buttonhole Tips and Tricks:


Classic rectangular buttonhole (diagram a): This is the buttonhole you often see. Use it for medium-weight, woven garments. This is available on all machines however the method for sewing it will be different for every machine.
Classic narrow buttonhole: If you are sewing lightweight fabrics, dial your stitch width down and create a narrow buttonhole. Some machines will have various buttonhole types built in already, so you can select the appropriate buttonhole for your lightweight fabric or adjust this manually.
Keyhole buttonhole (diagram c): Use a keyhole for heavyweight fabric on bottoms, jackets, and coats.
Stretch buttonhole (diagram d): Some machines have buttonholes specifically for knits and stretchy fabric. Check your manual. You can also slect a longer stitch length to allow more ease in the stitch for knit fabric. For more knit fabric buttonhole tips, check out this blog post.
Corded buttonhole: A corded buttonhole adds stability. You can use 'gimp thread' method, which doesn’t add much 3-dimensionality to your buttonhole, so if you want your buttonhole to pop, try adding cording. This can also be a lovely decoration to a garment making it look very couture.
Various fabric thickness problem solving:
Thick fabric tips:
- Humpjumper tool to lift the back of the buttonhole foot if sewing the buttonhole near an edge and it doesn't like starting on a slant.
- Keyhole buttonhole for coats and jackets and thicker fabrics.
- Sewing the buttonhole twice on thicker coat fabrics or something that needs extra stability.

Thin fabric tips:
- Tear away stabiliser or tissue paper is great for fabrics that don't have much give under the foot or for slippery fabrics.
- Buttonhole gimp thread stitches, this is a method of placing threads under each side of the buttonhole to add extra strength and prevent them stretching. Hook to back of button hole foot (should be some hooks on the back to fix them on), sew buttonhole as normal on top of those threads. Tug on the thread tails to pull the loop to be hidden around the top of the buttonhole and then trim off the tails.
Testing the stitch:

Always test your buttonhole on the same fabric before going to sew straight onto your project! This is important to get the right settings and troubleshoot any issues before sewing. Change any issues you may have and then test again a couple of times to make sure you're happy with the finish.
- Use the same thickness of fabric as your project, and apply interfacing if the part of the project also has this.
- Test the size of the buttonhole to make sure it fits around your button without stretching or being too big.
Marking on button holes:


- Invisible pen: the full line of the buttonhole and marking it so its clear on the fabric you're sewing. If you can't see the pen, use chalk or another method of marking that will be clear and visible on the fabric.
Cutting open the button hole:

- The most popular method is to use a seam ripper/un-picker tool. Place a pin in the top of the buttonhole, then use the seam ripper at the the bottom of the buttonhole and gently cut up towards the pin. The pin stops you accidentally cutting through the buttonhole and slicing a big hole into your garment.


- You can also get a buttonhole opener tool and cutting mat, put a pin in the top and bottom of the buttonhole, and place it on the cutting mat. Use the cutter by placing it on the buttonhole and gently pushing down or use a hammer. This method is great for fabrics that can easily fray.
Other tips:
- Press your buttonholes so they're nice and flat, and neat.
- Lay your buttonhole over where your button will be places and use the buttonhole opening to mark on the otherside where to place your button. The button should be sewn in the middle of that line so that the button hole is even around it.


Leave a comment
This site is protected by reCAPTCHA and the Google Privacy Policy and Terms of Service apply.